Chestnut Flour Pancakes for Beginners: Ratios, Resting, and Flip Times
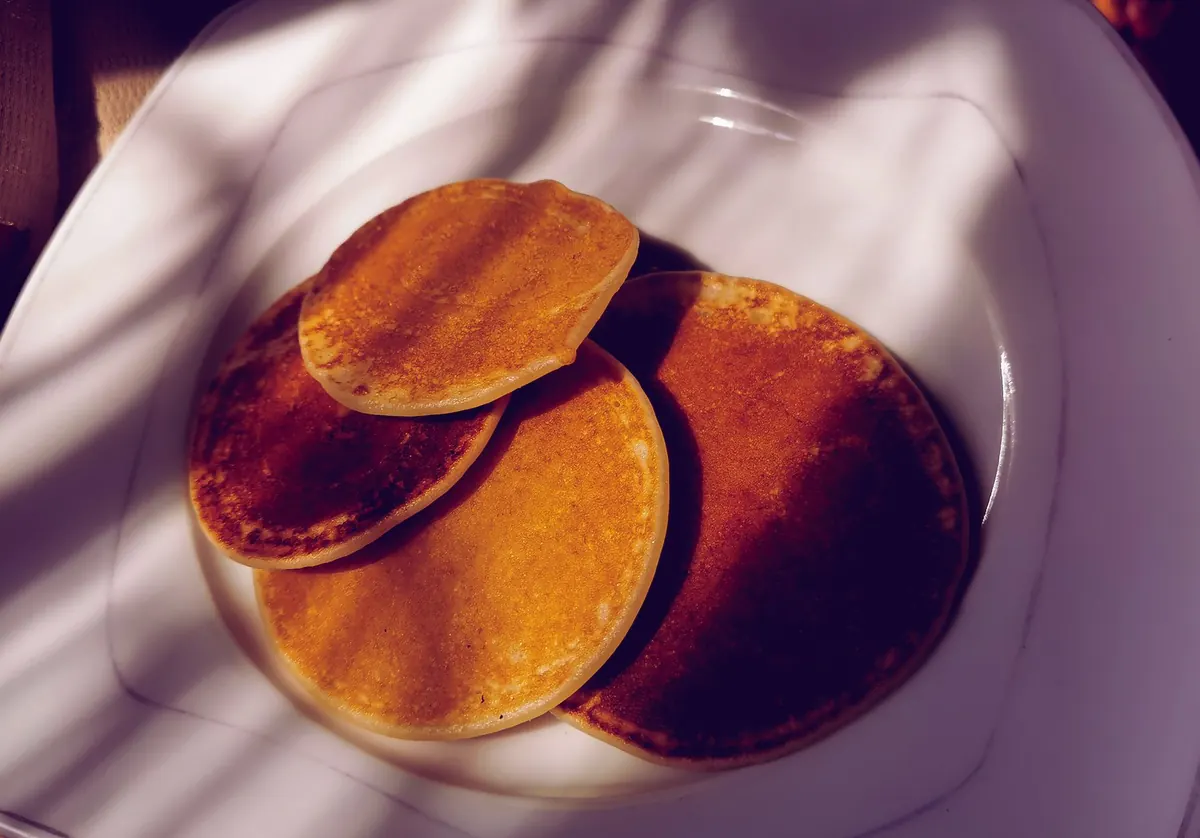
Chestnut flour pancakes have a reputation problem. People try them once, end up with a pan of dark, crumbling discs that taste fine but fall apart at the spatula, and quietly go back to wheat. The flour isn't at fault. Chestnut flour has no gluten, drinks more milk than you expect, and carries enough natural sugar to brown faster than any wheat batter. Account for those three facts — with a sane ratio, a rest, and real flip cues — and the pancakes come out tender, faintly sweet, and sturdy enough to pick up with your fingers. This is the version worth starting with.
Chestnut flour is not a straight swap for wheat flour, and treating it like one is where most first attempts go wrong. It contains no gluten, so nothing in the bowl forms the elastic web that holds a wheat pancake together. Eggs and a little starch have to do that job instead.
It is also slow to hydrate. The flour absorbs liquid unevenly, which is why a batter that looks loose in the bowl can be stiff and pasty by the time it reaches the pan. And it holds a fair amount of natural sugar, so it colors early. On a hot burner, a chestnut pancake can go from golden to scorched in less than a minute.
What you get in exchange is a dense, faintly sweet crumb with a toasted, almost woody aroma. It stands up to butter and honey, but also to ricotta, aged cheese, or a slice of prosciutto laid across the top. Build the batter around the flour's limits and those qualities come through clearly.
Work by weight, not by cups. Chestnut flour settles and compacts in a measuring cup, and the difference between a scooped cup and a spooned cup can be thirty grams — enough to change the texture of the whole batch. A digital scale takes ten seconds and removes the guesswork.
For roughly ten to twelve small pancakes, enough for three people:
The proportions behind those numbers are simple enough to remember: chestnut flour at about 60 percent of the total flour, one egg for every 100 g of flour, and milk at roughly one and a half times the flour weight. Once you have made the batch twice, you can push the chestnut flour up to 70 percent. Past that, add another yolk and expect a heavier, more crepe-like result rather than a fluffy one.
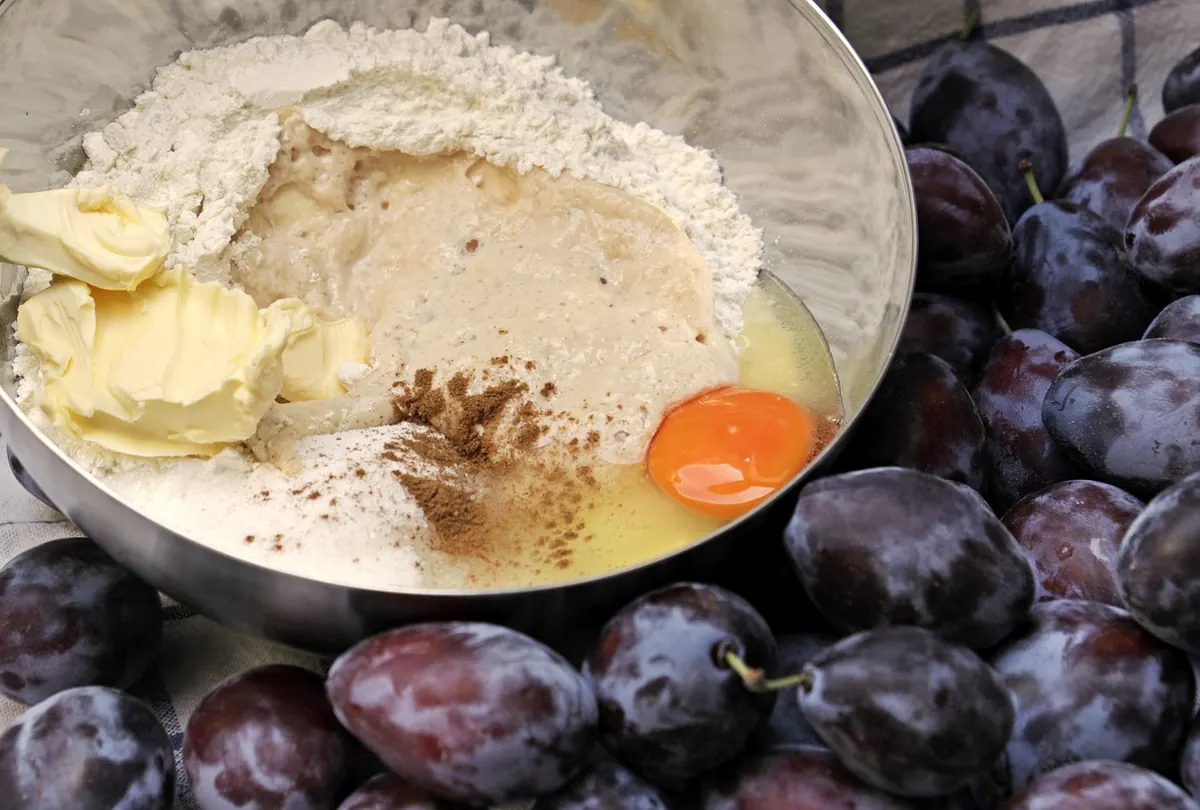
Whisk the dry ingredients together first — flours, baking powder, salt — so the leavening is evenly distributed. In a second bowl, beat the eggs with the milk, then stir in the melted butter. Pour the wet into the dry and stir with a spatula, scraping the bottom of the bowl, for about fifteen strokes.
Stop while the batter still looks slightly lumpy. Chestnut batter never smooths out completely, and chasing a silky texture only overworks it. The lumps hydrate during the rest.
The consistency you want is thick but pourable: it should fall off the ladle in a ribbon that folds on itself and disappears back into the surface within two or three seconds. If it plops and sits, add milk a tablespoon at a time. If it runs off thin and watery, give it ten minutes — the chestnut flour will catch up.
Twenty minutes on the counter, covered, is the minimum. Thirty is better. Three things happen in that time. The chestnut flour finishes hydrating, so the pancakes spread evenly instead of seizing in the pan. The sugar and salt dissolve. And the bubbles whipped in during mixing settle out, which means fewer weak spots and a surface that browns more evenly.
The change in the batter is obvious when you come back to it: it will have thickened noticeably and look slightly darker. Thin it with a splash of milk before cooking.
For a longer rest, put the covered bowl in the fridge for up to a few hours. If you want to mix the night before, leave the baking powder out until just before cooking — it loses its lift once it sits wet for hours. A batter made with buttermilk and a quarter teaspoon of baking soda instead can rest overnight without trouble.
Chestnut flour punishes high heat. Set the burner to medium-low and let the pan come up to temperature for a full three or four minutes before the first ladle goes in. A thin film of butter or oil is enough; wipe out any pooling fat with a paper towel.
The first side: ladle about 60 ml of batter and spread it gently with the back of the ladle into a disc roughly 8 cm across. Cook for two to three minutes. The cues to watch for are the edges turning from glossy to matte and setting firm, small bubbles rising and breaking on the surface without filling back in, and a look at the underside with a thin spatula at the two-minute mark. You want deep golden brown, not dark brown.
The second side: flip once, firmly, and cook for sixty to ninety seconds. The second side is always faster and rarely needs more than a minute and a half.
Two rules that save a lot of batches: never press the pancake with the spatula, and never flip it more than once. Keep finished pancakes on a plate in a low oven — around 90°C — while you cook the rest, and don't stack them more than three deep or they steam themselves soft.
Leftovers keep better than expected. Cool them completely, layer with parchment, and freeze; they revive in a toaster straight from frozen, which is more than most pancake batters can claim. The first batch is the one that teaches you the pan, so make it small, taste it plain, and adjust the milk before you commit the rest of the batter.
Previous Post
How to Roast and Peel Chestnuts in the Oven: A Step-by-Step Guide
Next Post
How to Make Smooth Chestnut Puree for Desserts, Soups, and Sauces